
THE PACKAGING JOURNAL
How to Choose Custom Boxes: Size, Material & Design
Learn how to choose custom packaging boxes: compare sizes, materials and structures, use clear dimensions and prepare your product quote brief.
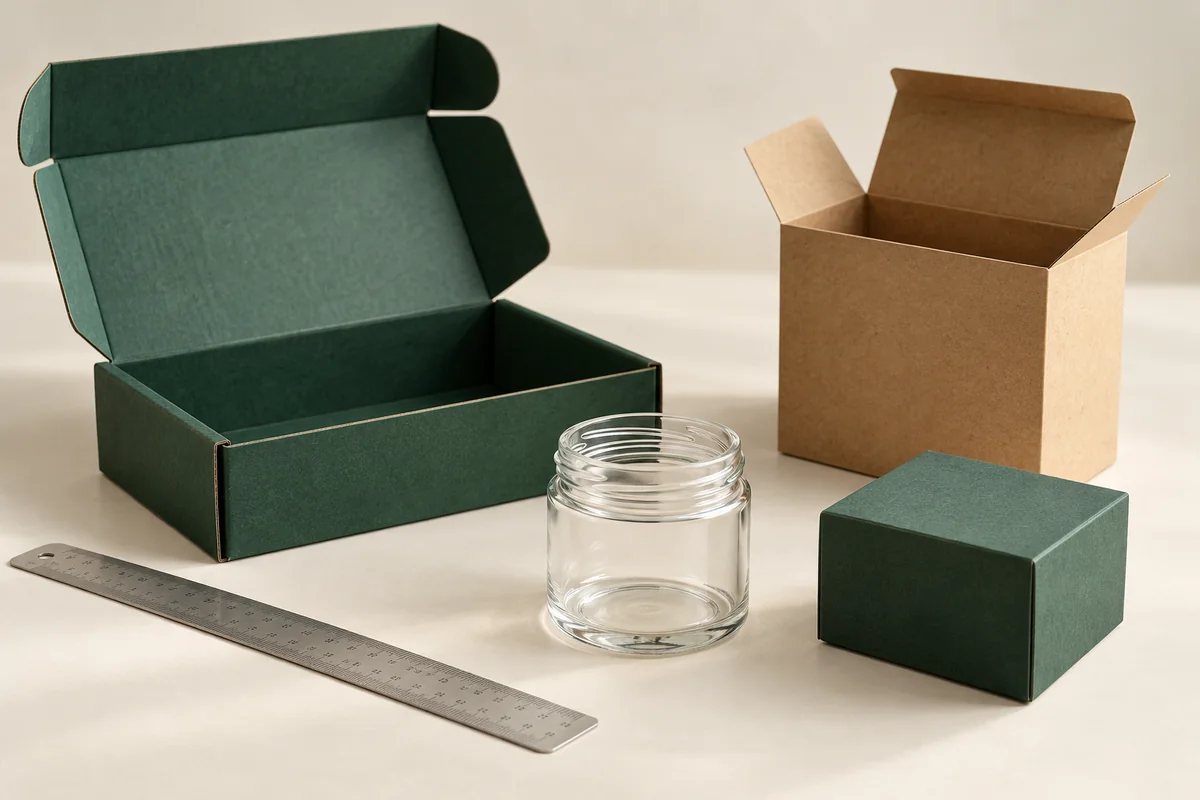
Choosing custom packaging boxes starts with product fit, protection and the way the pack will be used. This guide helps US brands compare sizes, box structures and printing choices, then prepare a clear quote brief without guessing about the finished specification.
Measure the fully packed product, identify whether the box is for retail, shipping or gifting, and select a structure with the appropriate insert and material. Confirm the dimensions and artwork against a physical sample before approving production.
1. Define the packaging journey first
Write down where the product will go and who will handle it. A carton displayed on a store shelf has different priorities from a parcel moving through a delivery network. A gift set may need a careful reveal, while a subscription shipment needs a repeatable packing routine. Some products need two layers: an attractive inner presentation box and a protective outer shipper.
List the product weight, fragile areas, surface sensitivity and number of items per pack. Note whether the package will be stacked, stored for long periods, returned by a customer or handled in humid conditions. These details help avoid choosing a material solely because it looks appealing in a photograph.
2. Measure the product as it will be packed
Measure the complete item, including caps, pumps, accessories, wrapping and any protruding parts. For a set, arrange every component in the intended position before taking measurements. Record length, width and height in one unit and label your sketch clearly. Do not assume a supplier uses the same dimension order as your existing packaging.
Keep internal box dimensions separate from external shipping dimensions. Internal dimensions describe the usable fit; external dimensions include the board and construction. The final clearance must accommodate the insert, protection, assembly and manufacturing tolerances. There is no universal clearance that works for every product.
| Detail | What to record | Why it matters |
|---|---|---|
| Product | Diameter, height with lid, filled weight | Defines the complete packed item |
| Protection | Insert type and cushioning needs | Changes usable space and restraint |
| Box | Proposed internal dimensions, in mm | Clarifies the intended fit |
| Delivery | External dimensions and total packed weight | Supports shipping and handling planning |
3. Compare structures by purpose
Custom mailer boxes can combine a shipping-oriented structure with a branded opening experience. Tuck-end cartons suit many compact retail products. Rigid boxes offer a substantial presentation, while sleeves can add branding to an existing tray or pack. The correct choice still depends on the product and final specification.
| Purpose | Structure to consider | Check before ordering |
|---|---|---|
| E-commerce delivery | Corrugated mailer or shipping carton | Closure, insert and transit protection |
| Retail display | Folding carton or display box | Shelf footprint and information hierarchy |
| Gift presentation | Rigid, two-piece or sleeve box | Opening experience and outer shipping protection |
| Multi-item set | Box with a fitted insert | Each component’s position and removal |
4. Match the board and insert to the load
Board thickness alone does not describe the performance of a finished pack. Construction, board grade, flute profile where applicable, insert design and closure all contribute. Ask for a specification appropriate to the packed weight and distribution conditions. FEFCO’s material overview explains that corrugated profiles can be combined to produce different performance characteristics.
Use an insert to address a real need: restricting movement, separating components or supporting a vulnerable part. A cutout that looks precise in a render may be too tight for a customer’s fingers or too loose for transport. Test loading, removal and repacking using the actual product.
5. Plan print, finish and total project cost together
Decide which panels need branding, what information must remain readable and whether the interior needs print. Compare finishes on the chosen board, rather than judging isolated swatches. Dark artwork, fine lines and small text may reproduce differently on textured kraft and smooth white board.
Compare the total packed system: box, insert, additional wrapping, packing labor, storage space and freight. Carrier billing may include dimensional weight; FedEx explains the role of package volume. Check the current rules for your service instead of using a general online formula as a quotation.
6. Approve a sample and a complete brief
A digital preview helps you discuss appearance, but it does not verify fit, strength or print color. Review a structural sample for assembly and dimensions, then agree which proof or finished sample is needed for artwork and surface treatment. Record changes before placing the final order.
- Product dimensions, packed weight and photographs.
- Box purpose, proposed style and internal dimensions.
- Insert, closure and protection requirements.
- Quantity, product variants and artwork files.
- Delivery destination, required date and sample expectations.
A custom box sizing brief for a US product launch
When choosing custom packaging boxes, send one clearly labeled size rather than mixing inches and millimeters across an email, drawing and quote form. A useful starting brief records the complete product, its protective insert and the proposed usable inside space separately. Dimensions are a design input, not a guarantee that the finished box will fit.
| Unit | Length × width × height | What it describes |
|---|---|---|
| Inches | 8 × 6 × 3 in | A proposed internal size to review |
| Centimeters | 20.32 × 15.24 × 7.62 cm | The same proposed size |
| Millimeters | 203.2 × 152.4 × 76.2 mm | The same proposed size |
One inch equals 25.4 millimeters. Confirm tolerances and measurement order with the supplier before approving a dieline. For a pump bottle, measure with the pump fitted; for a gift set, measure the arranged items and insert rather than adding the product widths together. Check whether the filled pack can close without pressing on a cap, decoration or fragile edge.
For shipping, record the assembled outer dimensions and packed weight separately. FedEx explains dimensional weight, which can affect the chargeable weight of a parcel. Use the carrier’s current rules for the actual service; an internal box measurement is not a shipping estimate.
Compare custom box styles for the intended journey, then include your US destination ZIP code, quantity and artwork versions in the packaging quote brief.
Common questions about choosing custom boxes
Should I choose the smallest possible box?
Choose an appropriately fitted box that still allows effective protection, practical packing and easy removal. A tight box can damage the product or make assembly difficult.
Can one size cover several products?
Sometimes. Compare product dimensions and use a consistent insert system where suitable. Check whether the added empty space and packing work outweigh the simplicity of one box size.
What if I do not know the material?
Describe the product and its journey first. A useful brief lets the structure and material be reviewed together instead of guessing from a photograph.
Turn your measurements into a packaging brief
Browse box styles, compare materials and finishes, then request a custom packaging quote with your product details.